This guide explains how to use Olap module to create reports.
Olap is a powerful reporting module you can use to print complex reports. You can use the predefined report templates or create custom ones, depending on data you need.
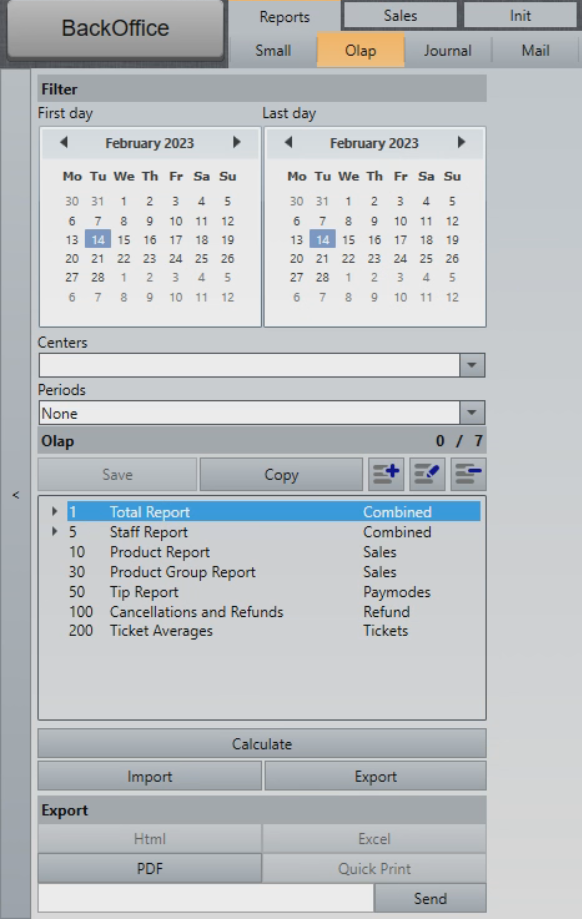
Calculating a predefined template
- Select the start date in the left calendar and end date in the right calendar (or use Periods setting further down).
- Select Centers (if used).
- Select Periods, e.g. Current week, Current Year, Previous Month... (if not using the calendar to select dates).
- Select the report template.
- Select Calculate.
- A report will be calculated and displayed in the right of the screen:

Saving or emailing the report
- You can now decide what you want to do with the report. You can inspect it visually by scrolling down and right, or you can use the following options:
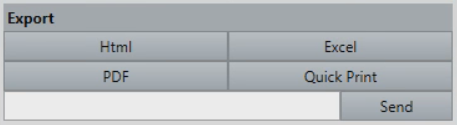
- Html: Saves the report in .html format on disk.
- Excel: Saves the report in .xls format on disk.
- PDF: Saves the report in .pdf format on disk.
- Quick Print: Prints the report on the default A4/desktop printer if there are any configured.
- Send: Sends the report in an email to the email address specified:

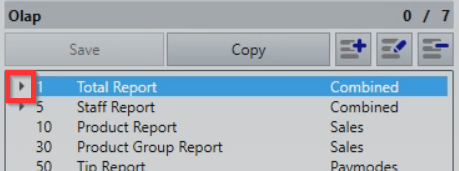
Combined Olap reports
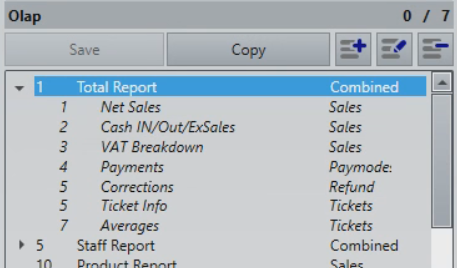
Olap reports can consist of several report types, all merged into a single document. To display the contents of a combined Olap report, select the arrow next to its name:
- This will expand the report view and display the sub-reports. Those can be used the same way as combined reports:
What's next?
To find out how to schedule the reports to be sent by email, check out Mail.
Was this article helpful?
That’s Great!
Thank you for your feedback
Sorry! We couldn't be helpful
Thank you for your feedback
Feedback sent
We appreciate your effort and will try to fix the article