This guide explains the steps required to activate a new or a replaced C150 device (for info on how to tell the difference between devices, check out WestPay terminals).
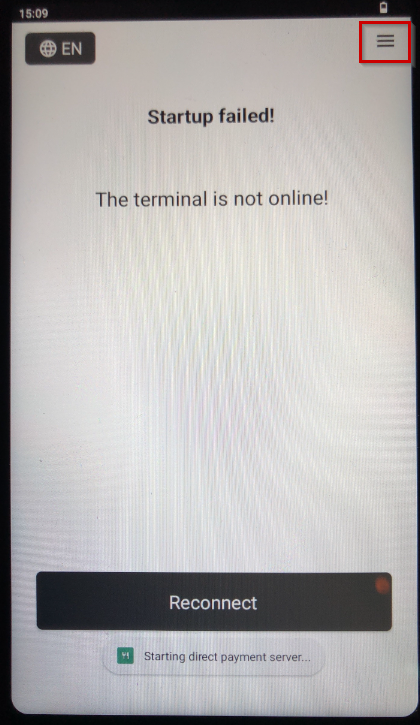
When the terminal is started for the first time (after replacement or during new installation), it asks for some configuration settings. The steps below are only required once per terminal installation. If the terminal, for some reason, is replaced in the future, these steps must be applied again.
Prep work
Make sure you have the following:
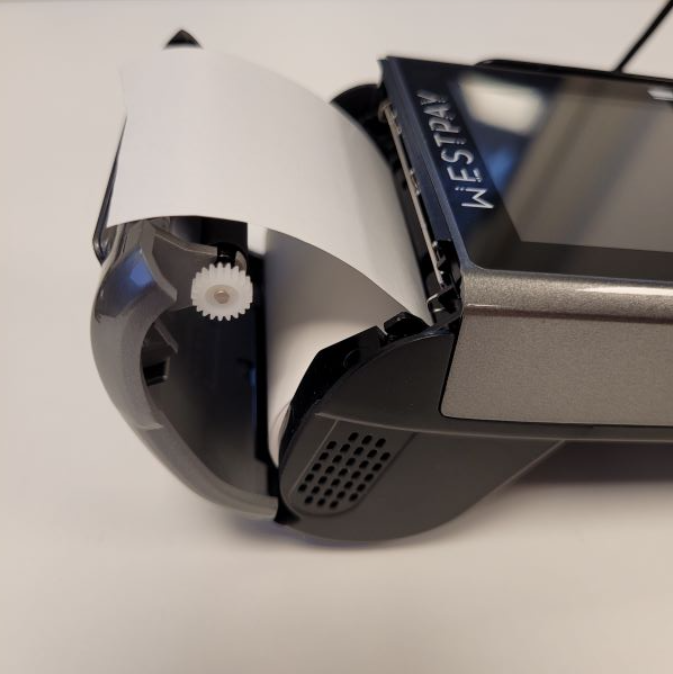
- Receipt paper: Make sure the size matches.
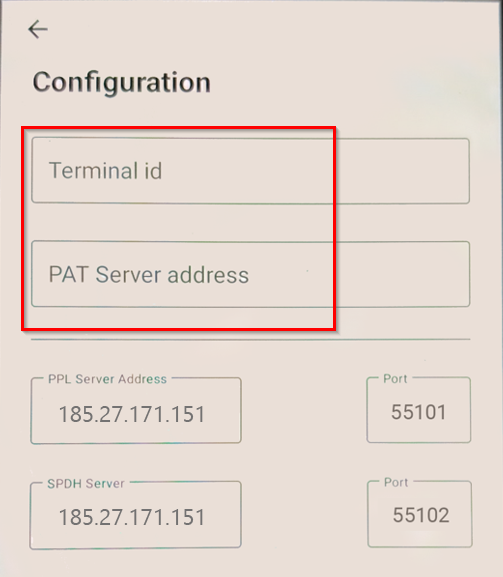
- Terminal ID: Trivec Support will provide this info.
- Pay@Table Server IP: Trivec Support will provide this info.
- Pay@Table server IP address: Trivec Support will provide this info.
- Static IP address, Gateway and Network prefix length: These settings will be used to by the terminal, your IT/Network-administrator should provide this info.
- Wi-Fi (SSID) name and password: Your IT/Network administrator should provide this info.
- A daily code (Only needed in case the device prompts for it): Trivec Support will provide this info.
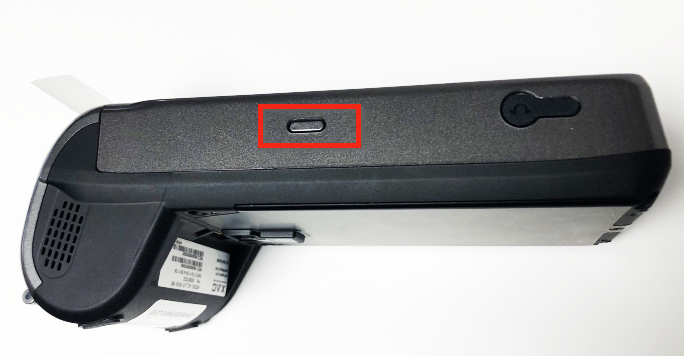
Setting up the device
|
 |
|
 |
|
 |
|
 |
|
 |
|
 |
|
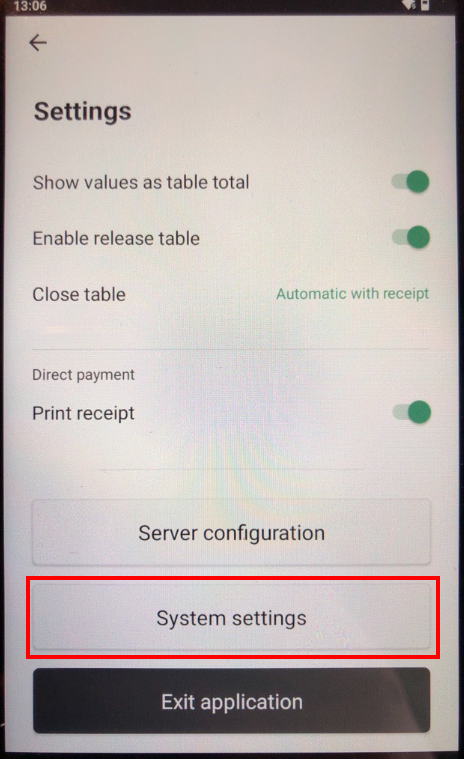 |
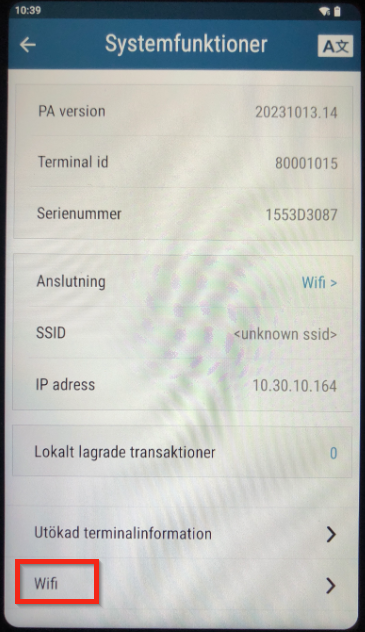
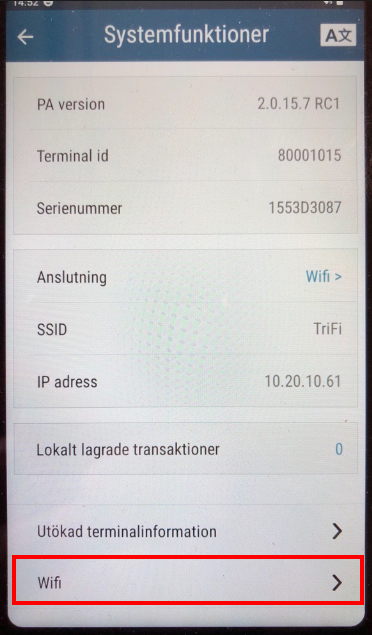
System settings menu
Navigate to System settings menu: Accessing the System settings menu on Westpay terminal
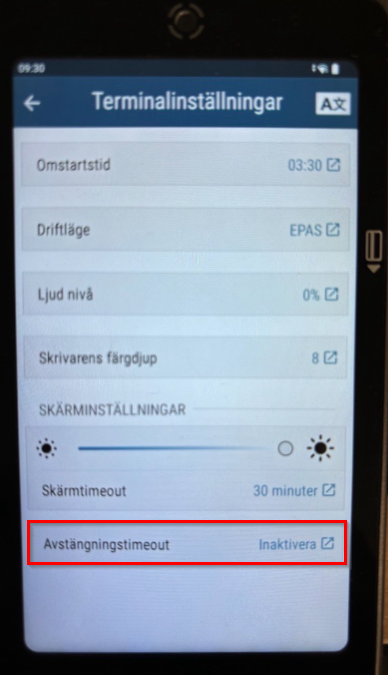
Disabling power saving timeout
|
 |
|
 |
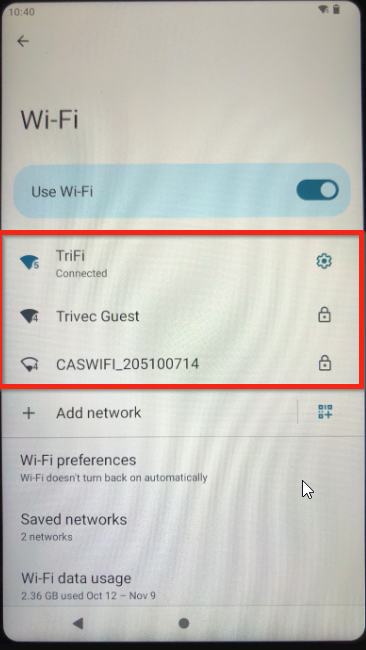
Connecting to WiFi
|
 |
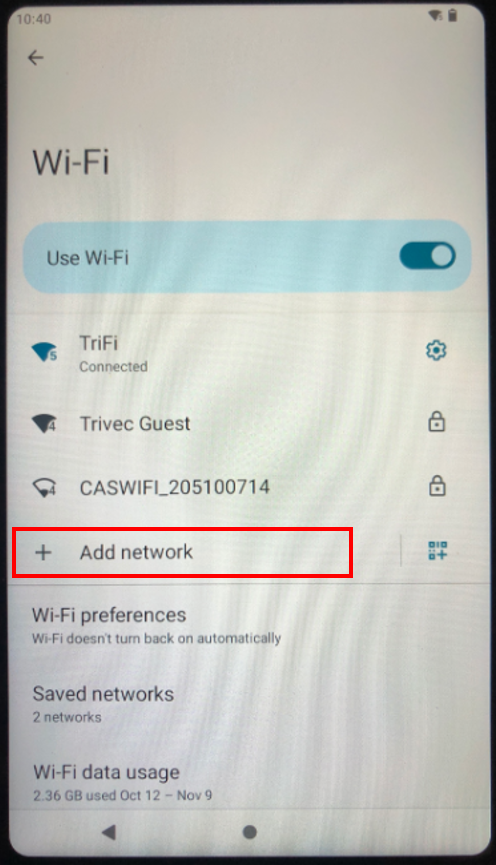
Visible WiFi
|
 |
|
|
|
|
|
|
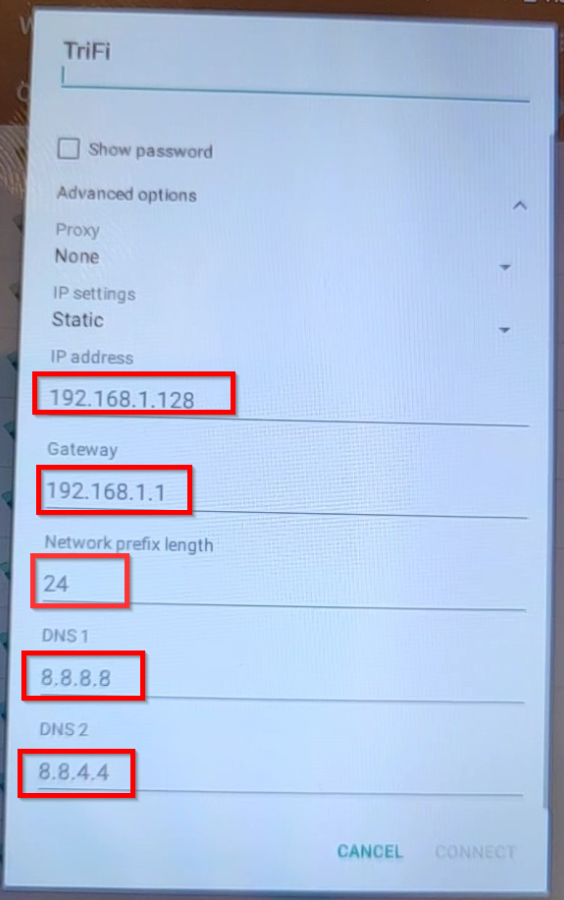
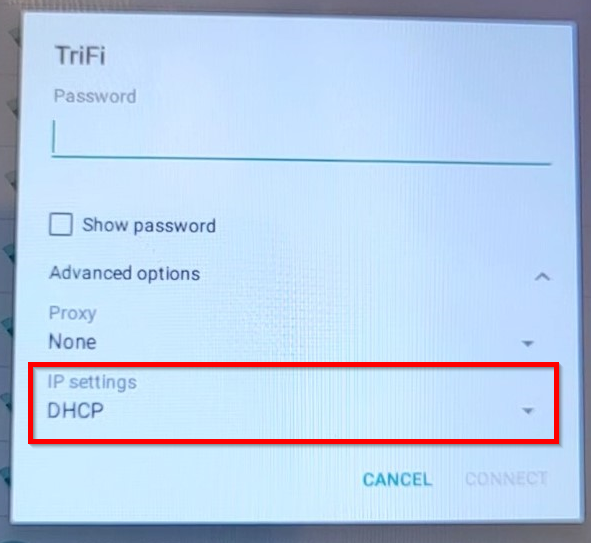
Gateway, Netmask, DNS1 and/or DNS2 may seem to be entered already with the correct data but in a light-grey color, meaning that this is just a suggestion from the manufacturer and the information still needs to be entered manually.
- Configure DNS1 to 8.8.8.8 and DNS2 to 8.8.4.4
- Don't change the Network prefix.
- Double-check that everything is correct and select Connect in the lower right corner of the screen.
Don´t forget to set static MAC if required by the network administrator, more info can be found here.
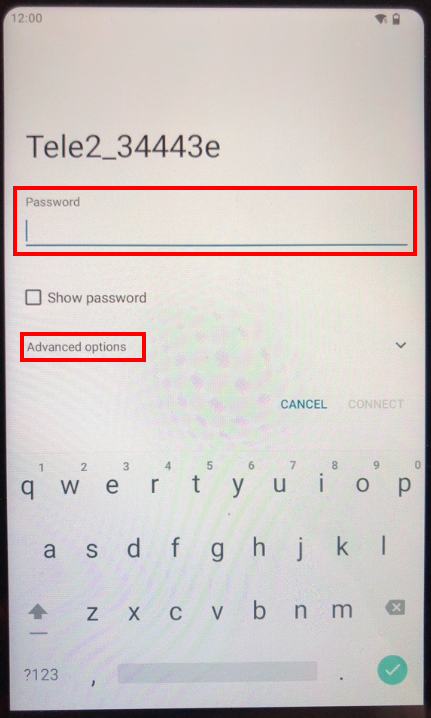
Connecting to a hidden Wifi
|
|
|
|
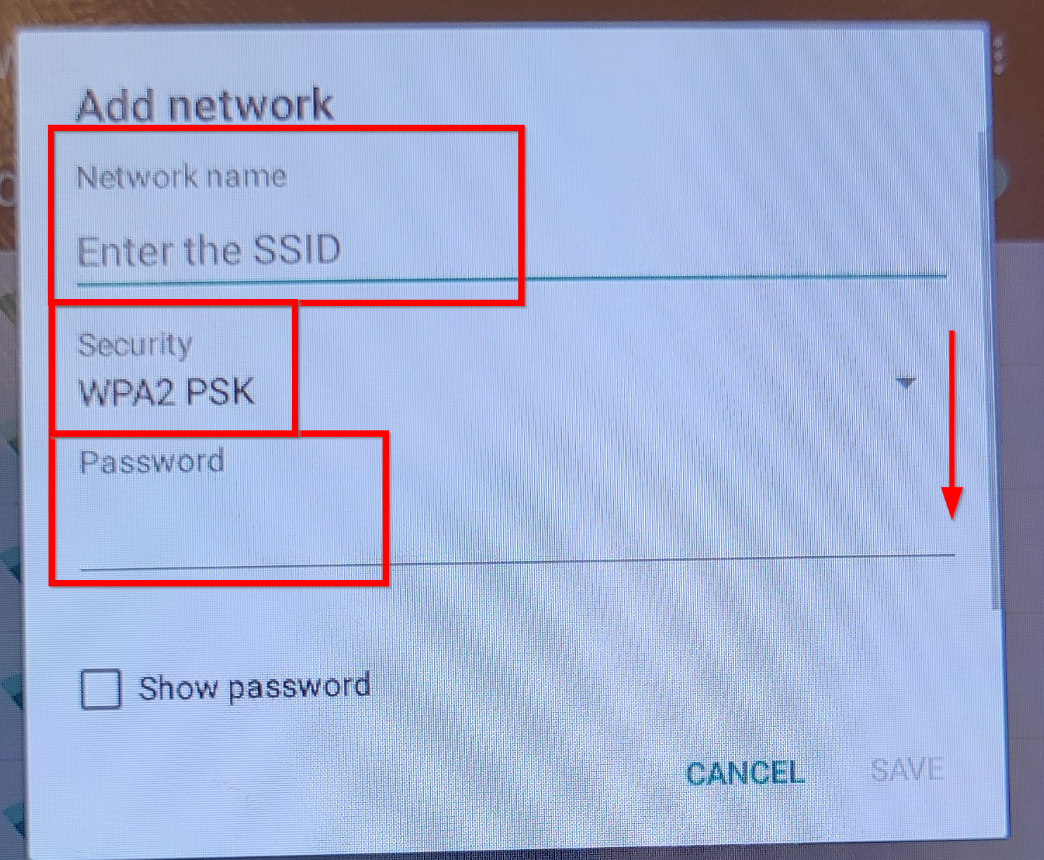
- Select Advanced options and follow the guide above to configure the rest of the settings.
Don´t forget to set static MAC if required by the network administrator, more info can be found here.
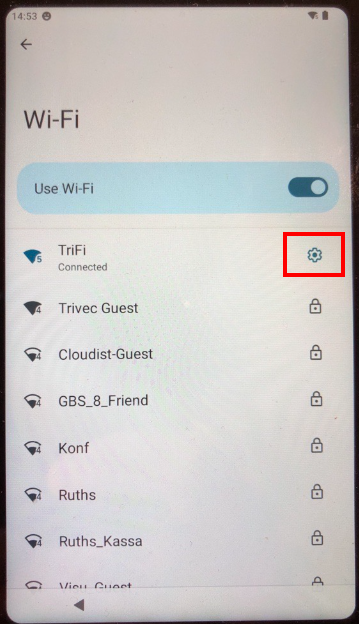
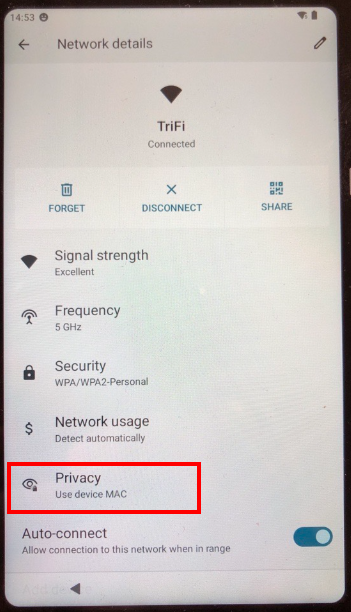
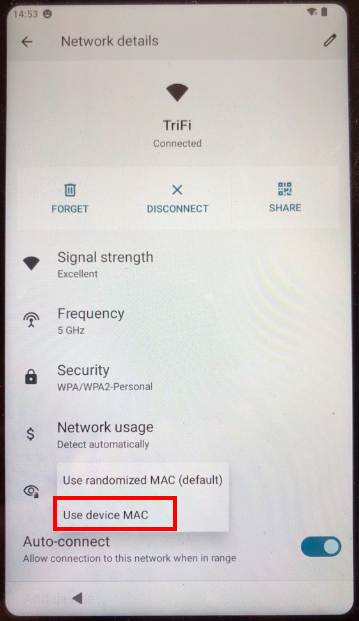
Set static MAC-address on C150
C150 is usually preconfigured to dynamic MAC addresses. This means that the terminal will generate a new MAC-address every time it is restarted. This could be an issue if your IT department has locked the IP-addresses on MAC-addresses.
To set device to static MAC-address:
|
|
|
|
|
|
|
|
Installing HandyPay on Westpay C150
For help with having HandyPay installed on C150 terminals, please contact Trivec Support.
Was this article helpful?
That’s Great!
Thank you for your feedback
Sorry! We couldn't be helpful
Thank you for your feedback
Feedback sent
We appreciate your effort and will try to fix the article