This guide explains how to place an order on a table.
Selecting a table
- Log into Handy (for info on how to log in, check out Logging in to Handy).
- You can add orders to table by either using the table map or selecting a table from the list.
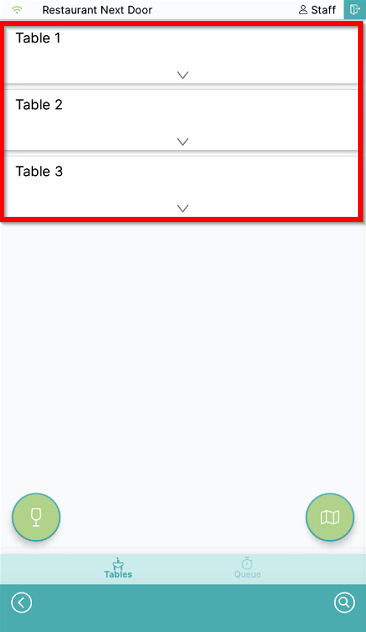
Selecting a table from the table list
- Select the row representing the table on the start screen:
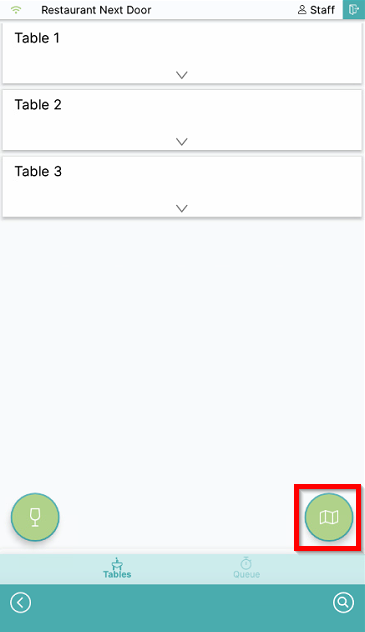
Selecting a table from the table map
- To use the table map instead, select the Table map icon:
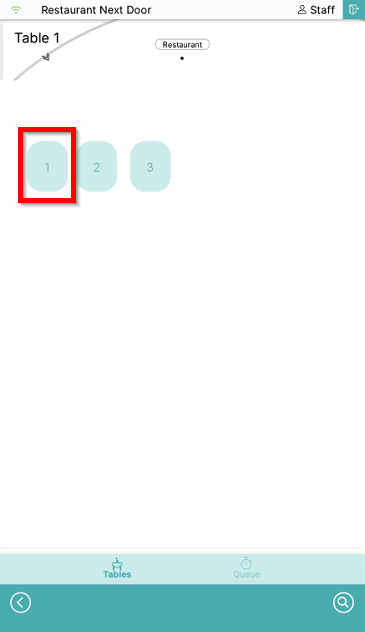
- Swipe left and right to change table maps and select the table symbol that you want to add the order to:
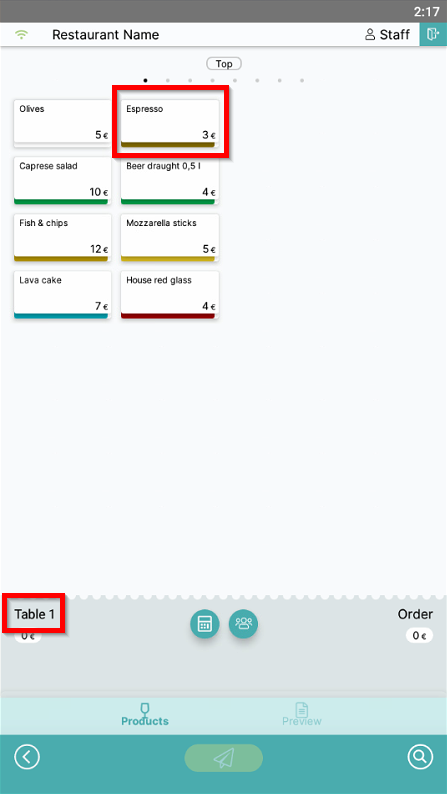
- Table 1 is now selected, as represented by the info in the lower left part of the screen. Add the products you want to send to the table:
- For info on how to review orders and modify product amounts, check out Reviewing orders and modifying amounts.
- For info on how to add memos and info products, check out Adding memos and info products to orders.
Select a different table
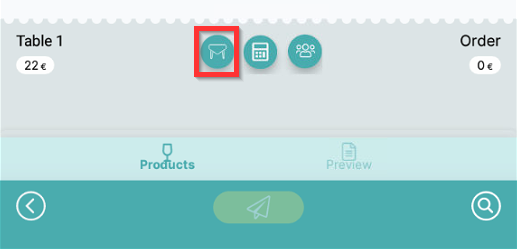
- To select a different table during Order, select the Select table symbol:
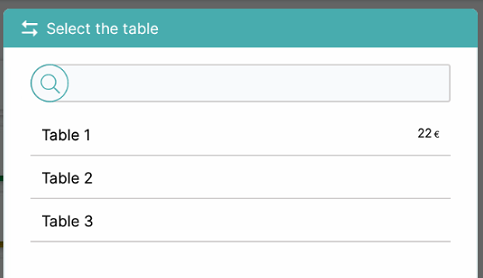
- Select a table from the list and confirm with Select:
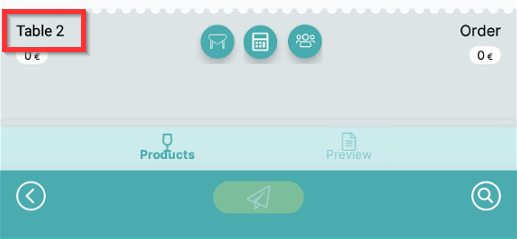
- Table number has been changed:
Sending an order
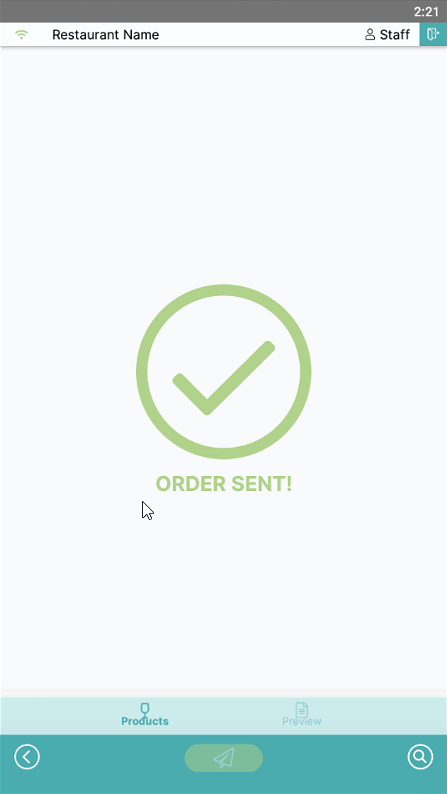
- Send the order by selecting the Send symbol at the bottom of the screen:

- Order has now been sent:
What's next?
To rename a table, check out Renaming a table.
To split an order to a different table, check out Splitting orders.
To perform a table order correction, check out Order correction.
To print a temporary bill, check out Printing a temporary bill.
To complete a payment on a table, check out Payment.
Was this article helpful?
That’s Great!
Thank you for your feedback
Sorry! We couldn't be helpful
Thank you for your feedback
Feedback sent
We appreciate your effort and will try to fix the article