This guide explains how to navigate the reports menu in Backoffice.
How to access the reports section
- Log in to Domino (for info on how to log in to Domino, check out Logging into Domino).
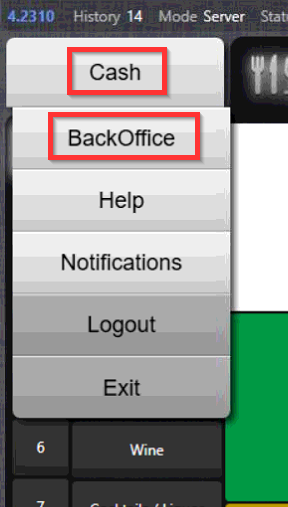
- Enter Backoffice by selecting Cash in the upper left corner and then selecting Backoffice:
- In Backoffice mode, select Reports tab:

Navigating the Reports section
Reports section is divided into four tabs:
- Small
- Olap
- Journal
Small reports
Selecting dates back in time
- If you are logged in with Manager-level profile, you will be able to select dates or periods in sales history to create reports on. For Staff-level profiles, only current date reports can be printed.
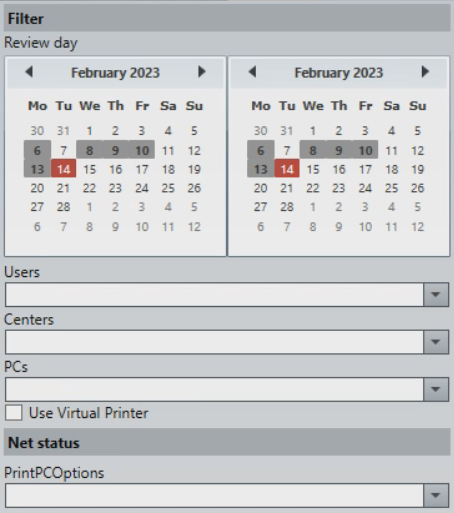
- To select a period in sales history, select the start date in the left calendar and end date in the right calendar:
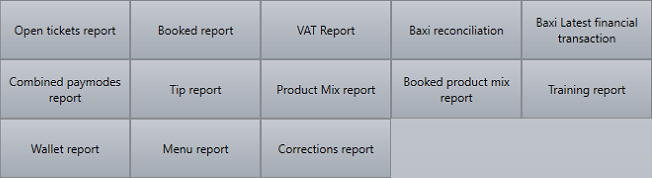
- After selecting the date, select the report type:
- Other filtering options are:
- User: Filters reports by user
- Centers: Filters reports by center
- PC: Filters reports by POS device
- Use Virtual Printer: Instead of printing on physical printer, receipt is displayed in a window
-
PrintPCOptions:
- None: Ignores POS status on report.
- OfflineOnly: Displays POS status on report for offline POS only.
- All: Displays POS status on report for all devices.
For more info on report types visible depending on different user profiles, check out:
- Reports visible to Staff-level profiles: Staff - Small reports.
- Reports visible to Manager-level profiles: Managers - Small reports.
Olap
For info on Olap, check out Working with Olap.
Journal
For info on Journal, check out Journal.
For info on Mail, check out Mail.
Was this article helpful?
That’s Great!
Thank you for your feedback
Sorry! We couldn't be helpful
Thank you for your feedback
Feedback sent
We appreciate your effort and will try to fix the article